1. Install SyncThing on your computer
Install SyncThing on your computer by downloading the app from the SyncThing Downloads page.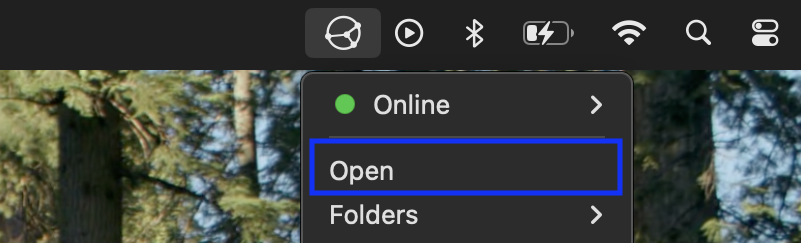
Click Open from the SyncThing menu to open the application
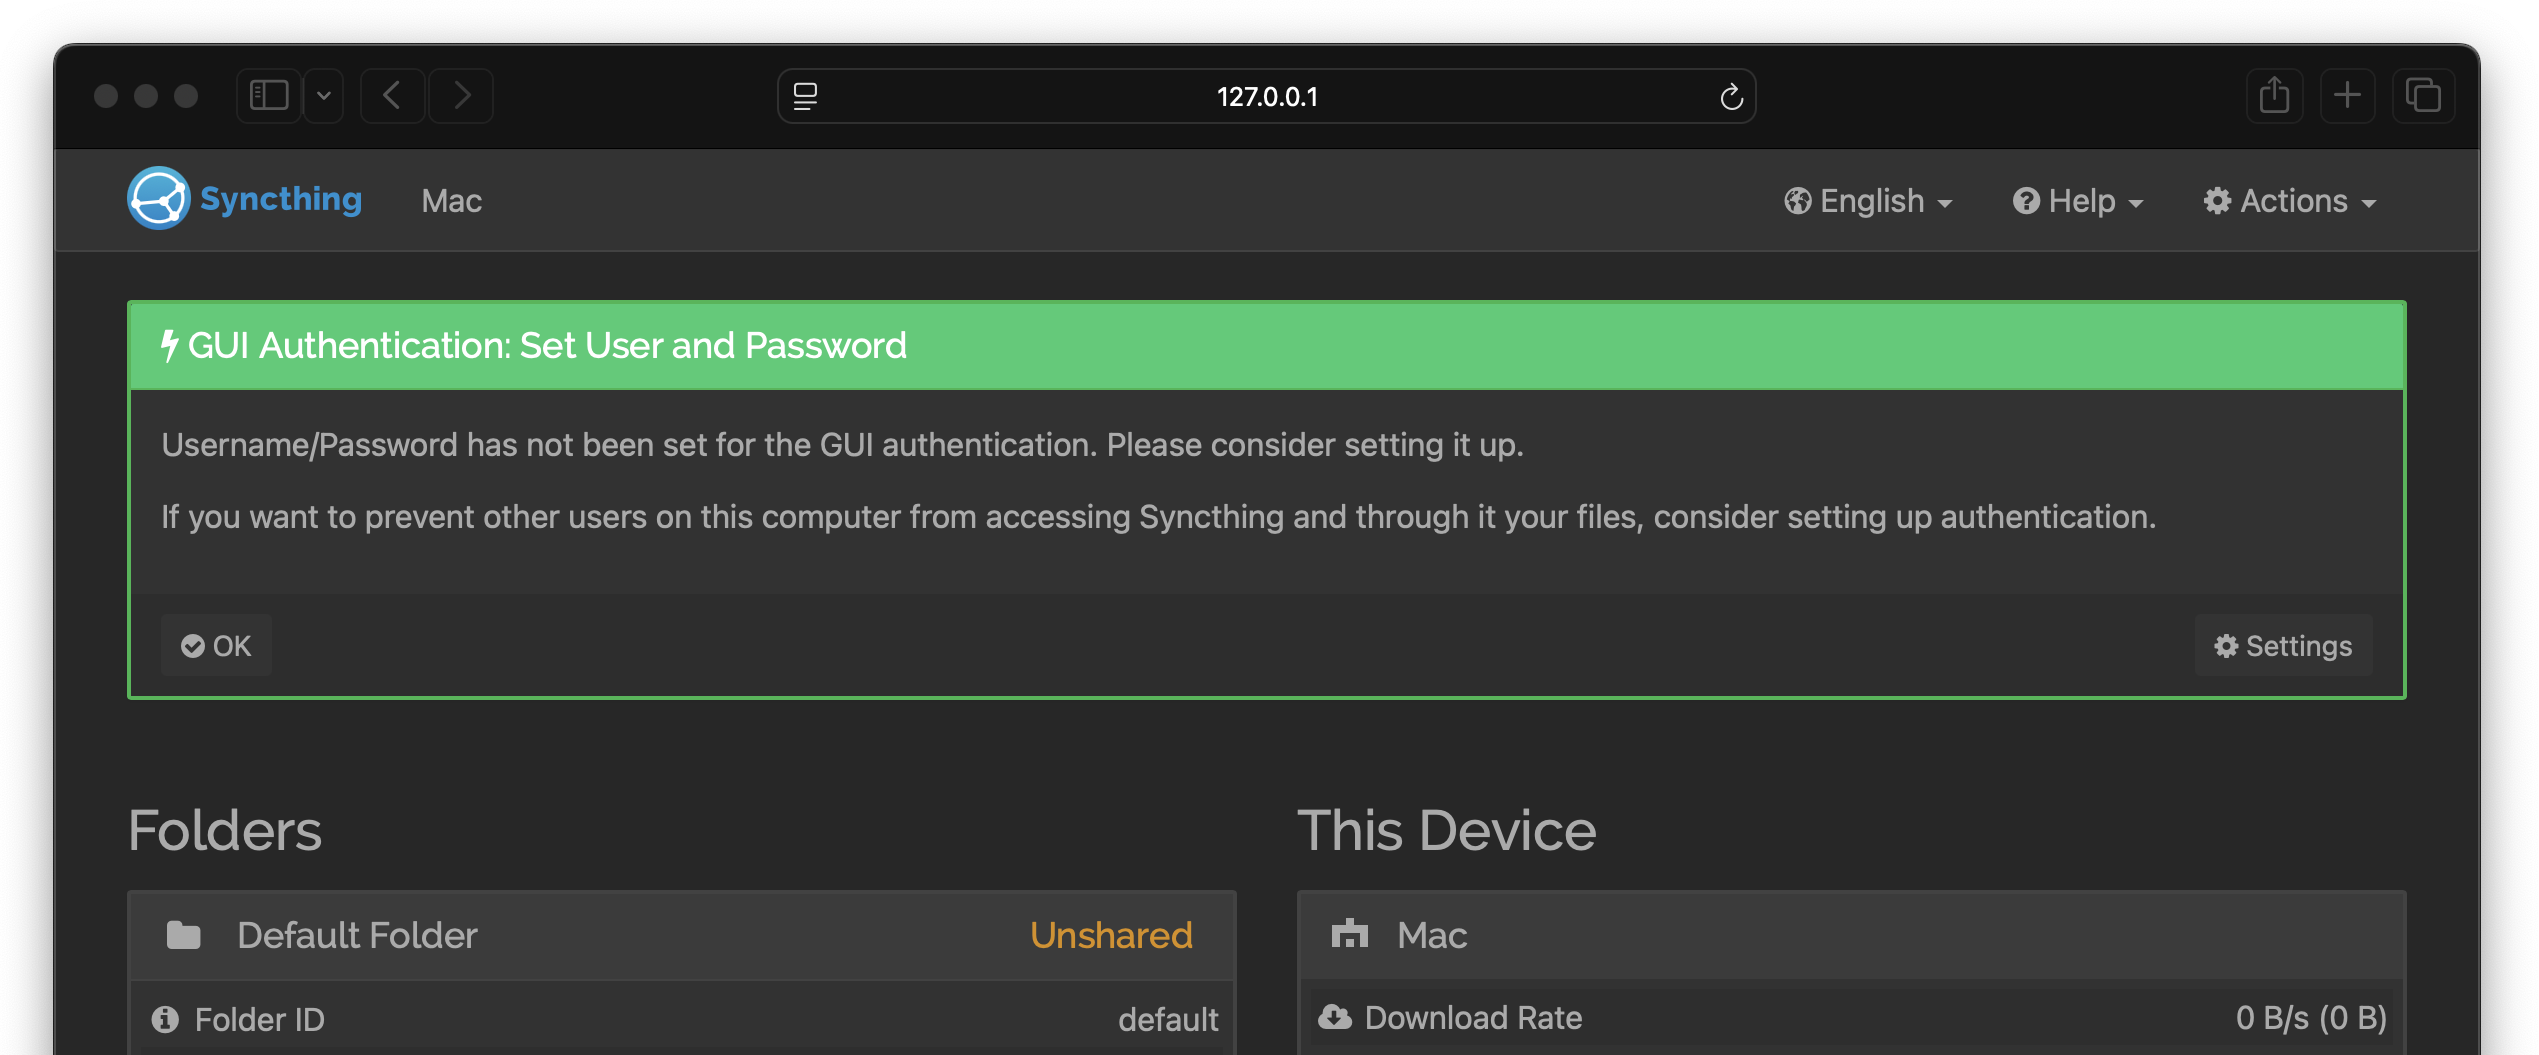
The SyncThing application runs in your browser
2. Install SyncThing on your Zo
To install SyncThing on your Zo Computer, copy and paste the text below into a new chat:3. Run SyncThing on your Zo
Open the System page in your Zo: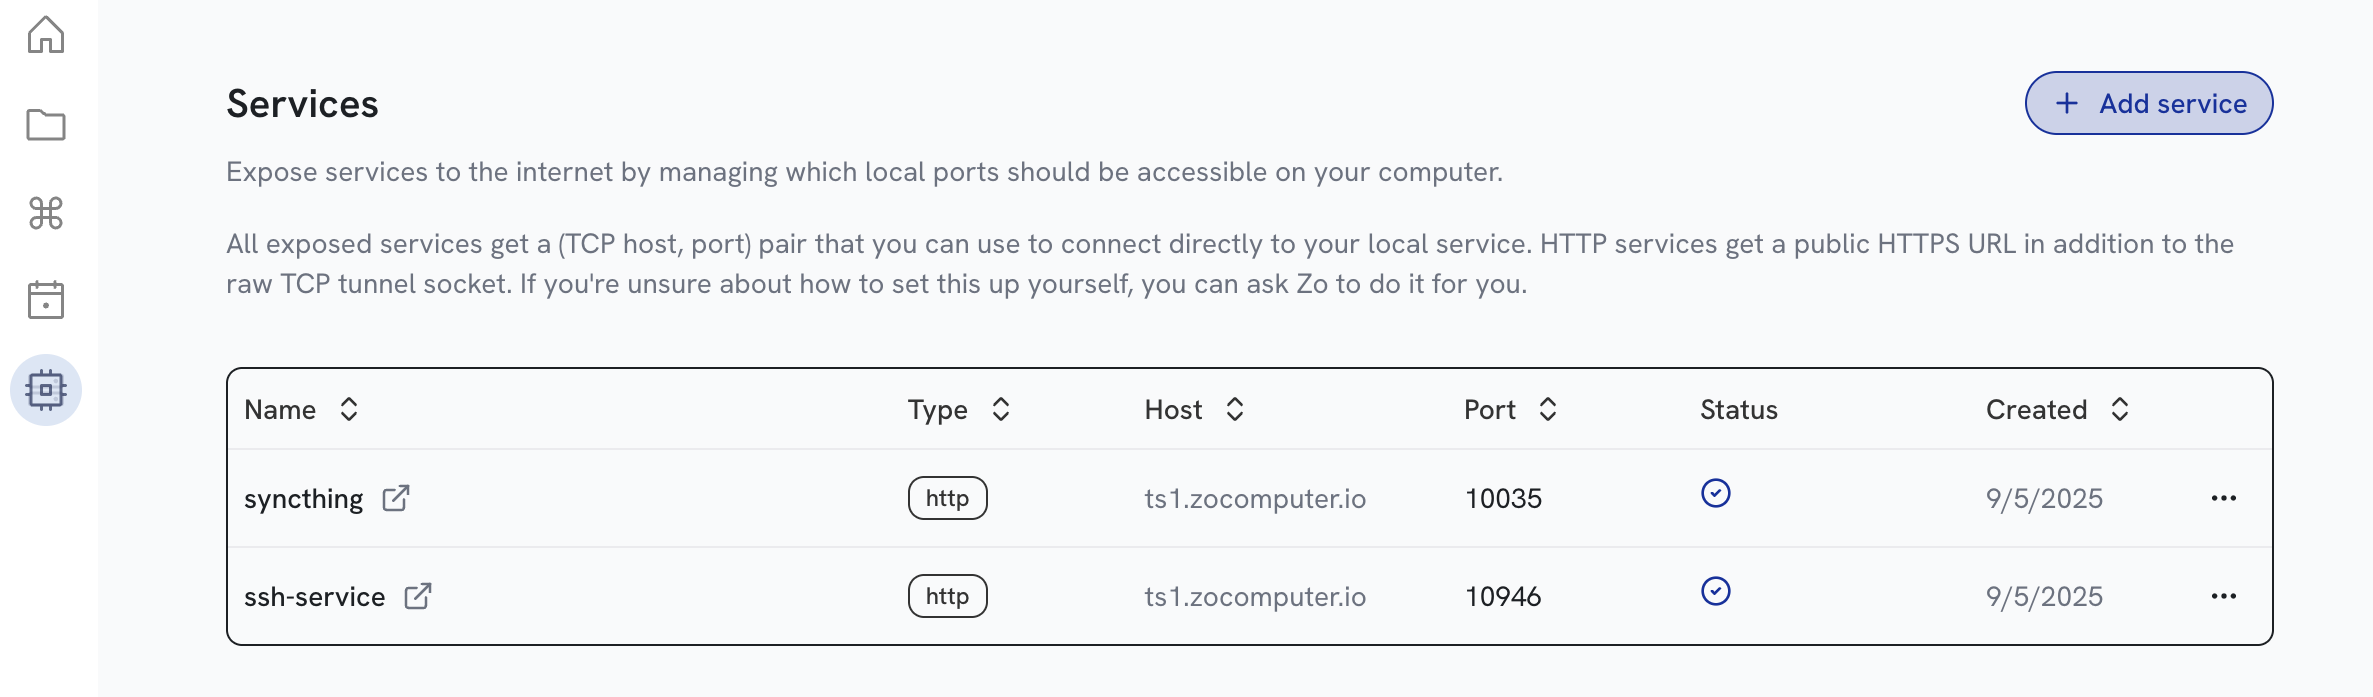
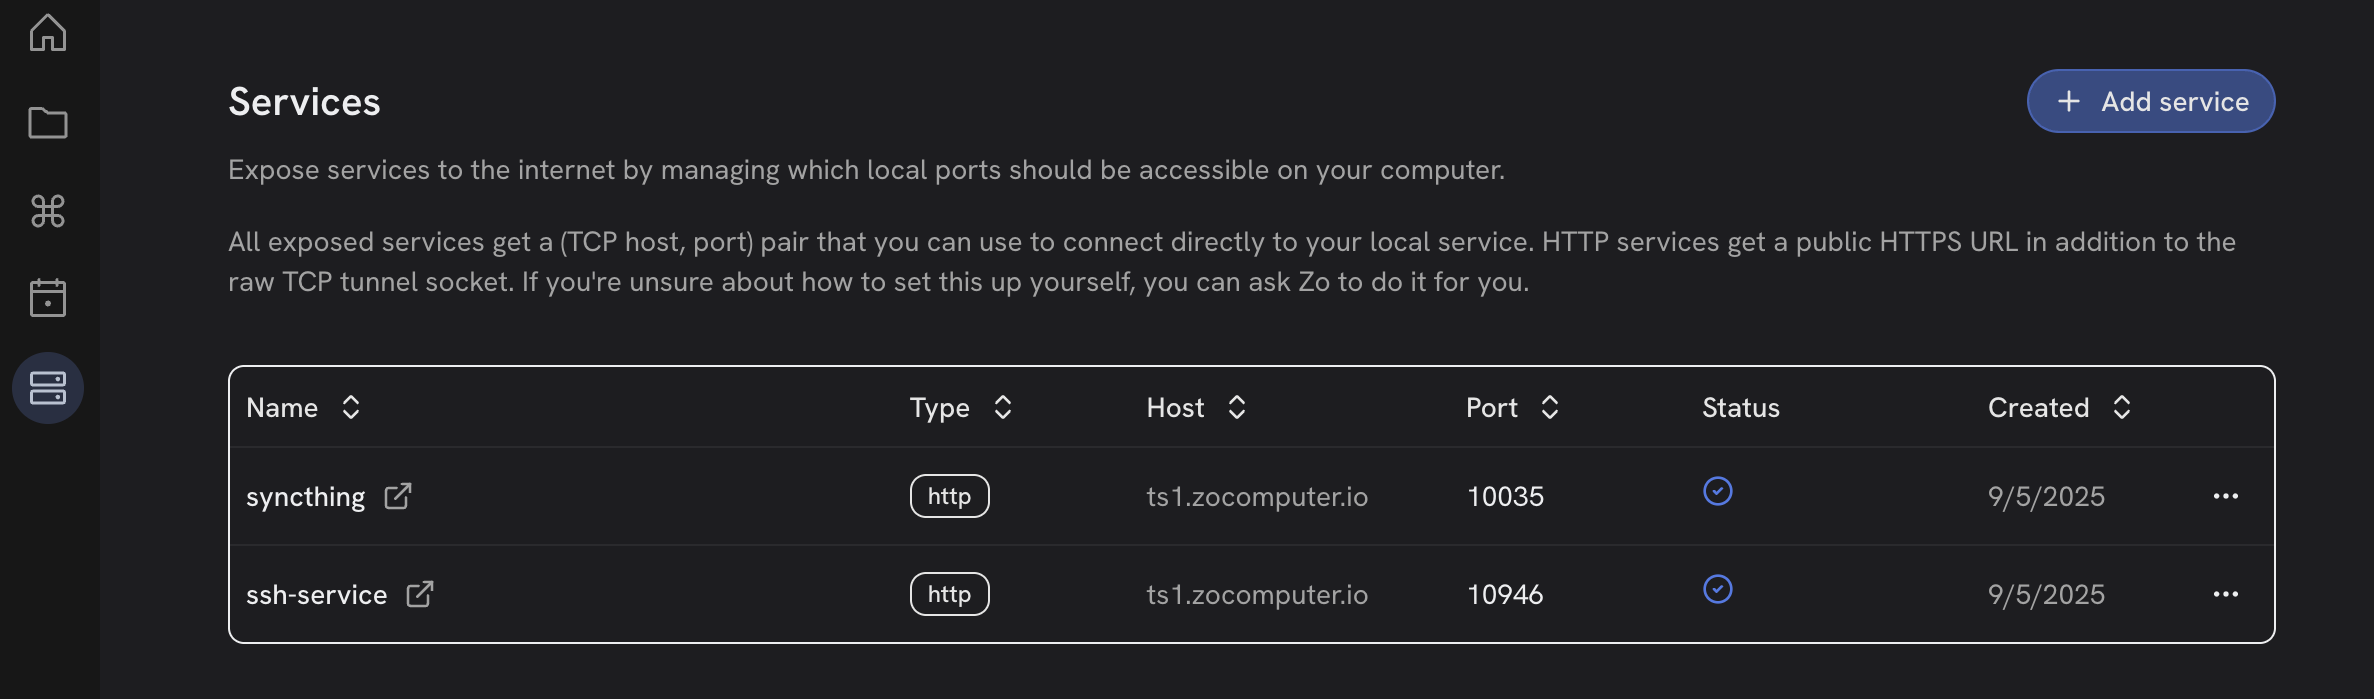
The Zo System page
| Label | syncthing |
| Local port | 28384 |
| Type | http |
| Entrypoint | syncthing --no-browser --gui-address=0.0.0.0:28384 |
| Working directory | /home/workspace |
| Environment variables | None |
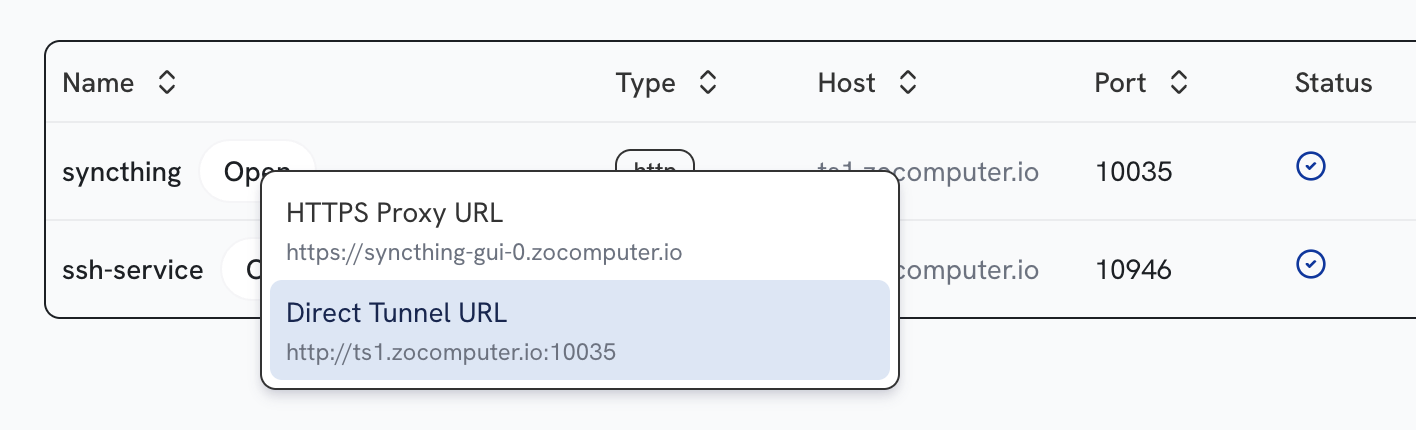
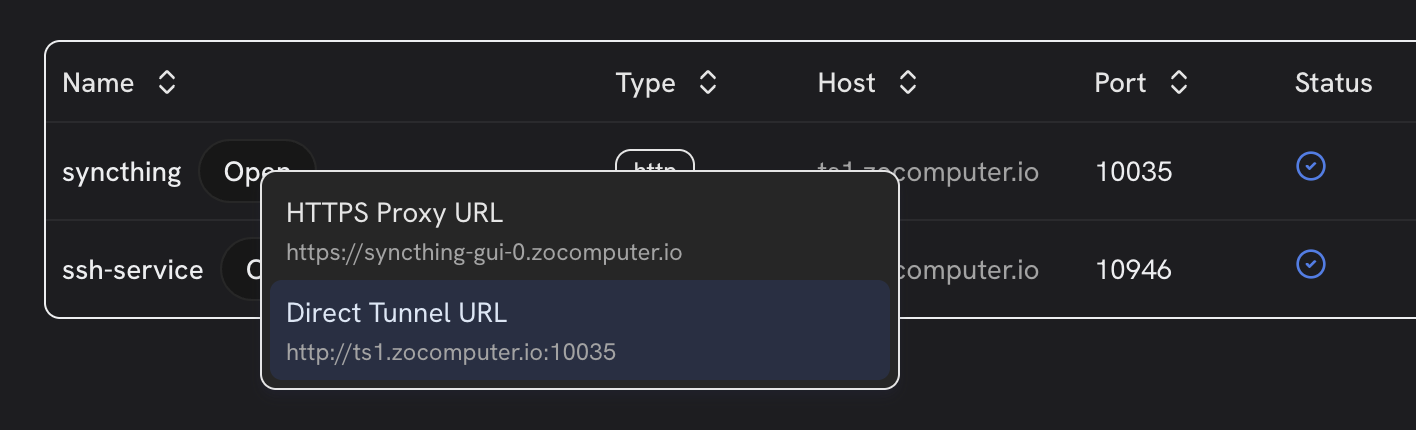
A running SyncThing service
Complex hosted applications may not work via the HTTP Proxy URL. For SyncThing, always use the Direct Tunnel URL.
4. Password protect your Zo’s SyncThing
You must set a password for your Zo’s SyncThing. If you don’t, anyone with the service URL can access it.SyncThing running on your desktop or laptop is not publicly accessible, and does not need to be password protected.
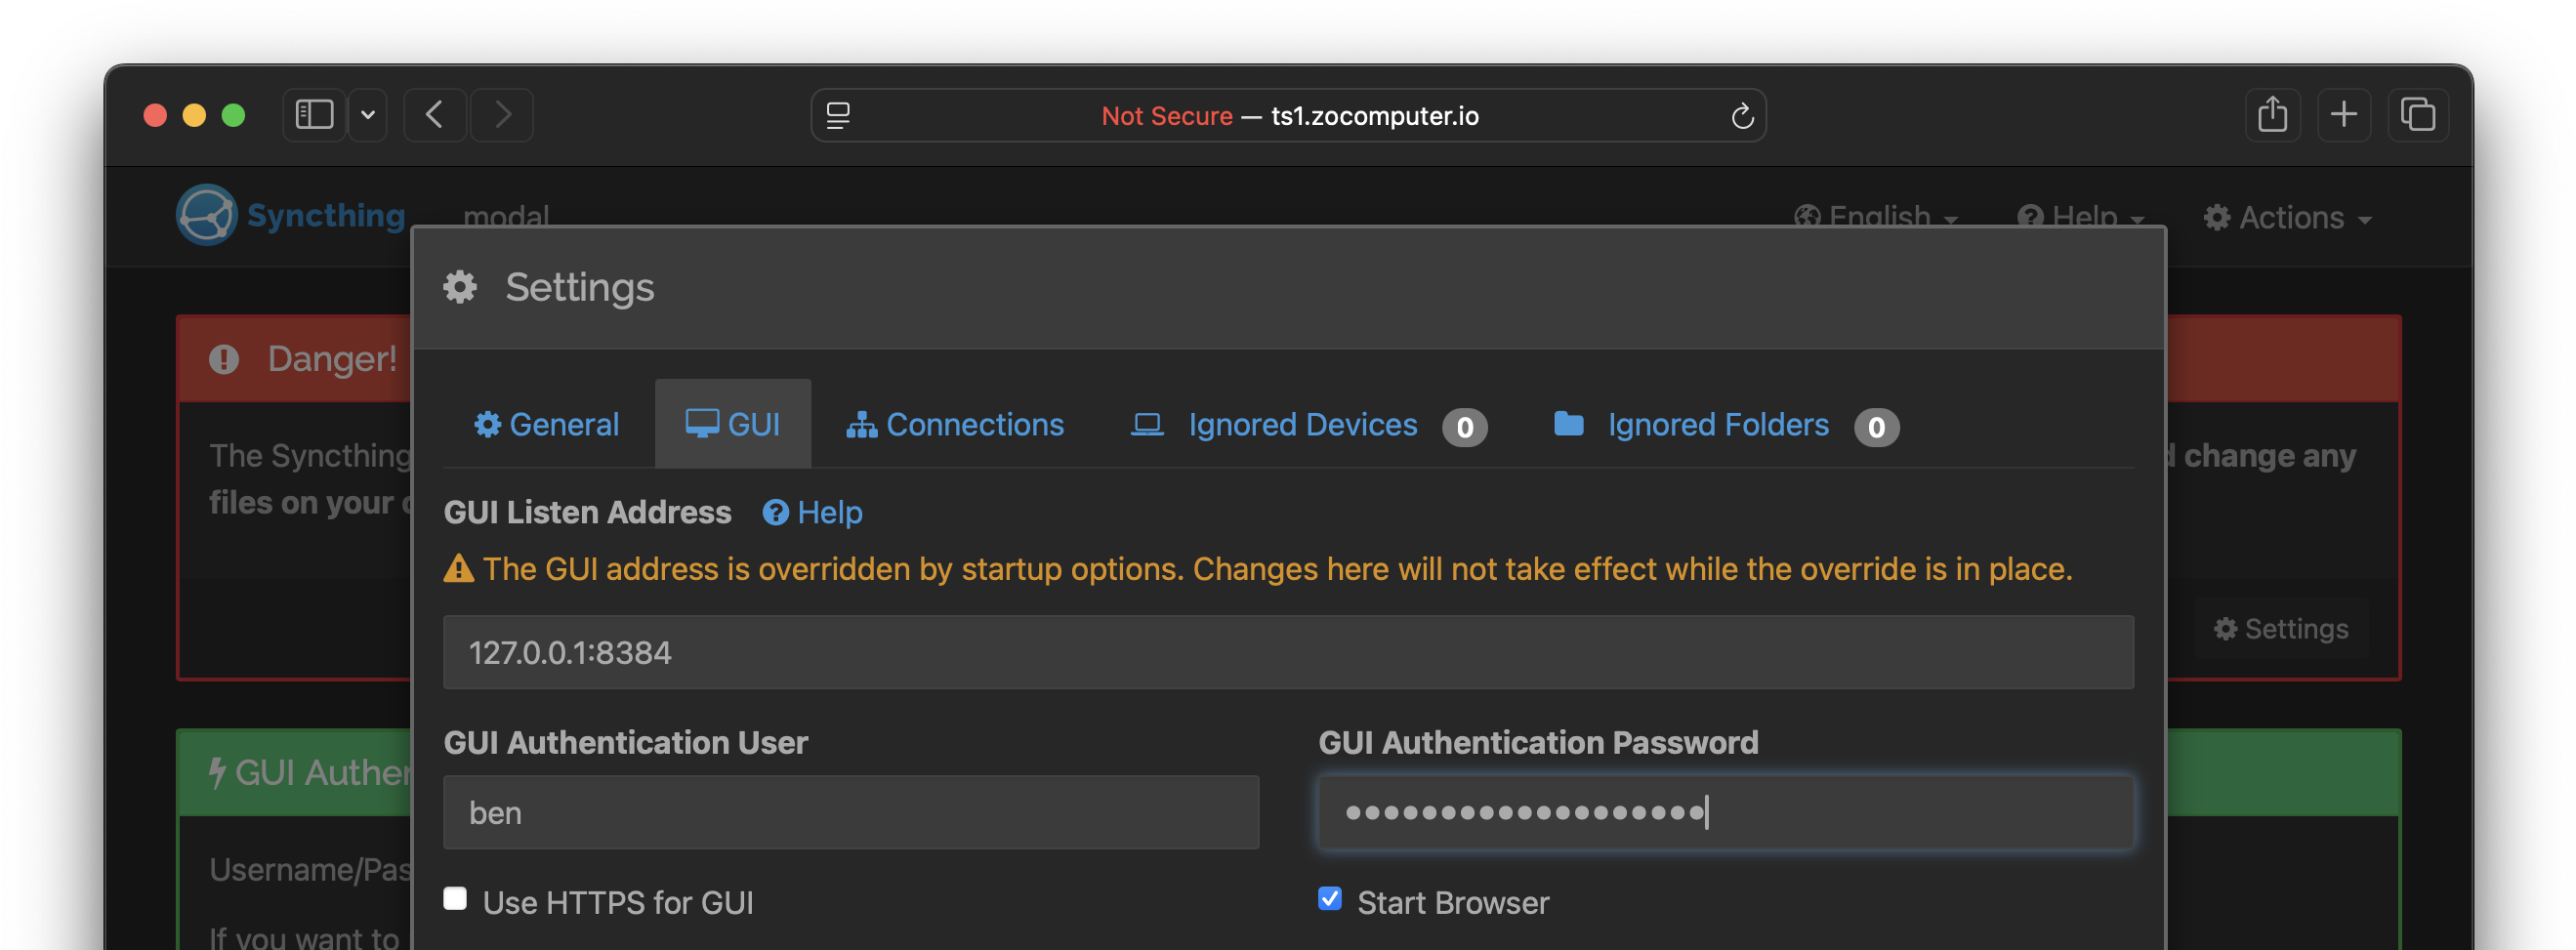
Setting a user and password in your Zo SyncThing
5. Connect your SyncThings
Open both SyncThing applications. Add your computer as a connected device to your Zo’s SyncThing:- In your Zo’s SyncThing, click “Add Remote Device”.
- In your computer’s SyncThing, click “Actions” → “Show ID” to see your device ID. Copy into the “Add Device” dialog and save.
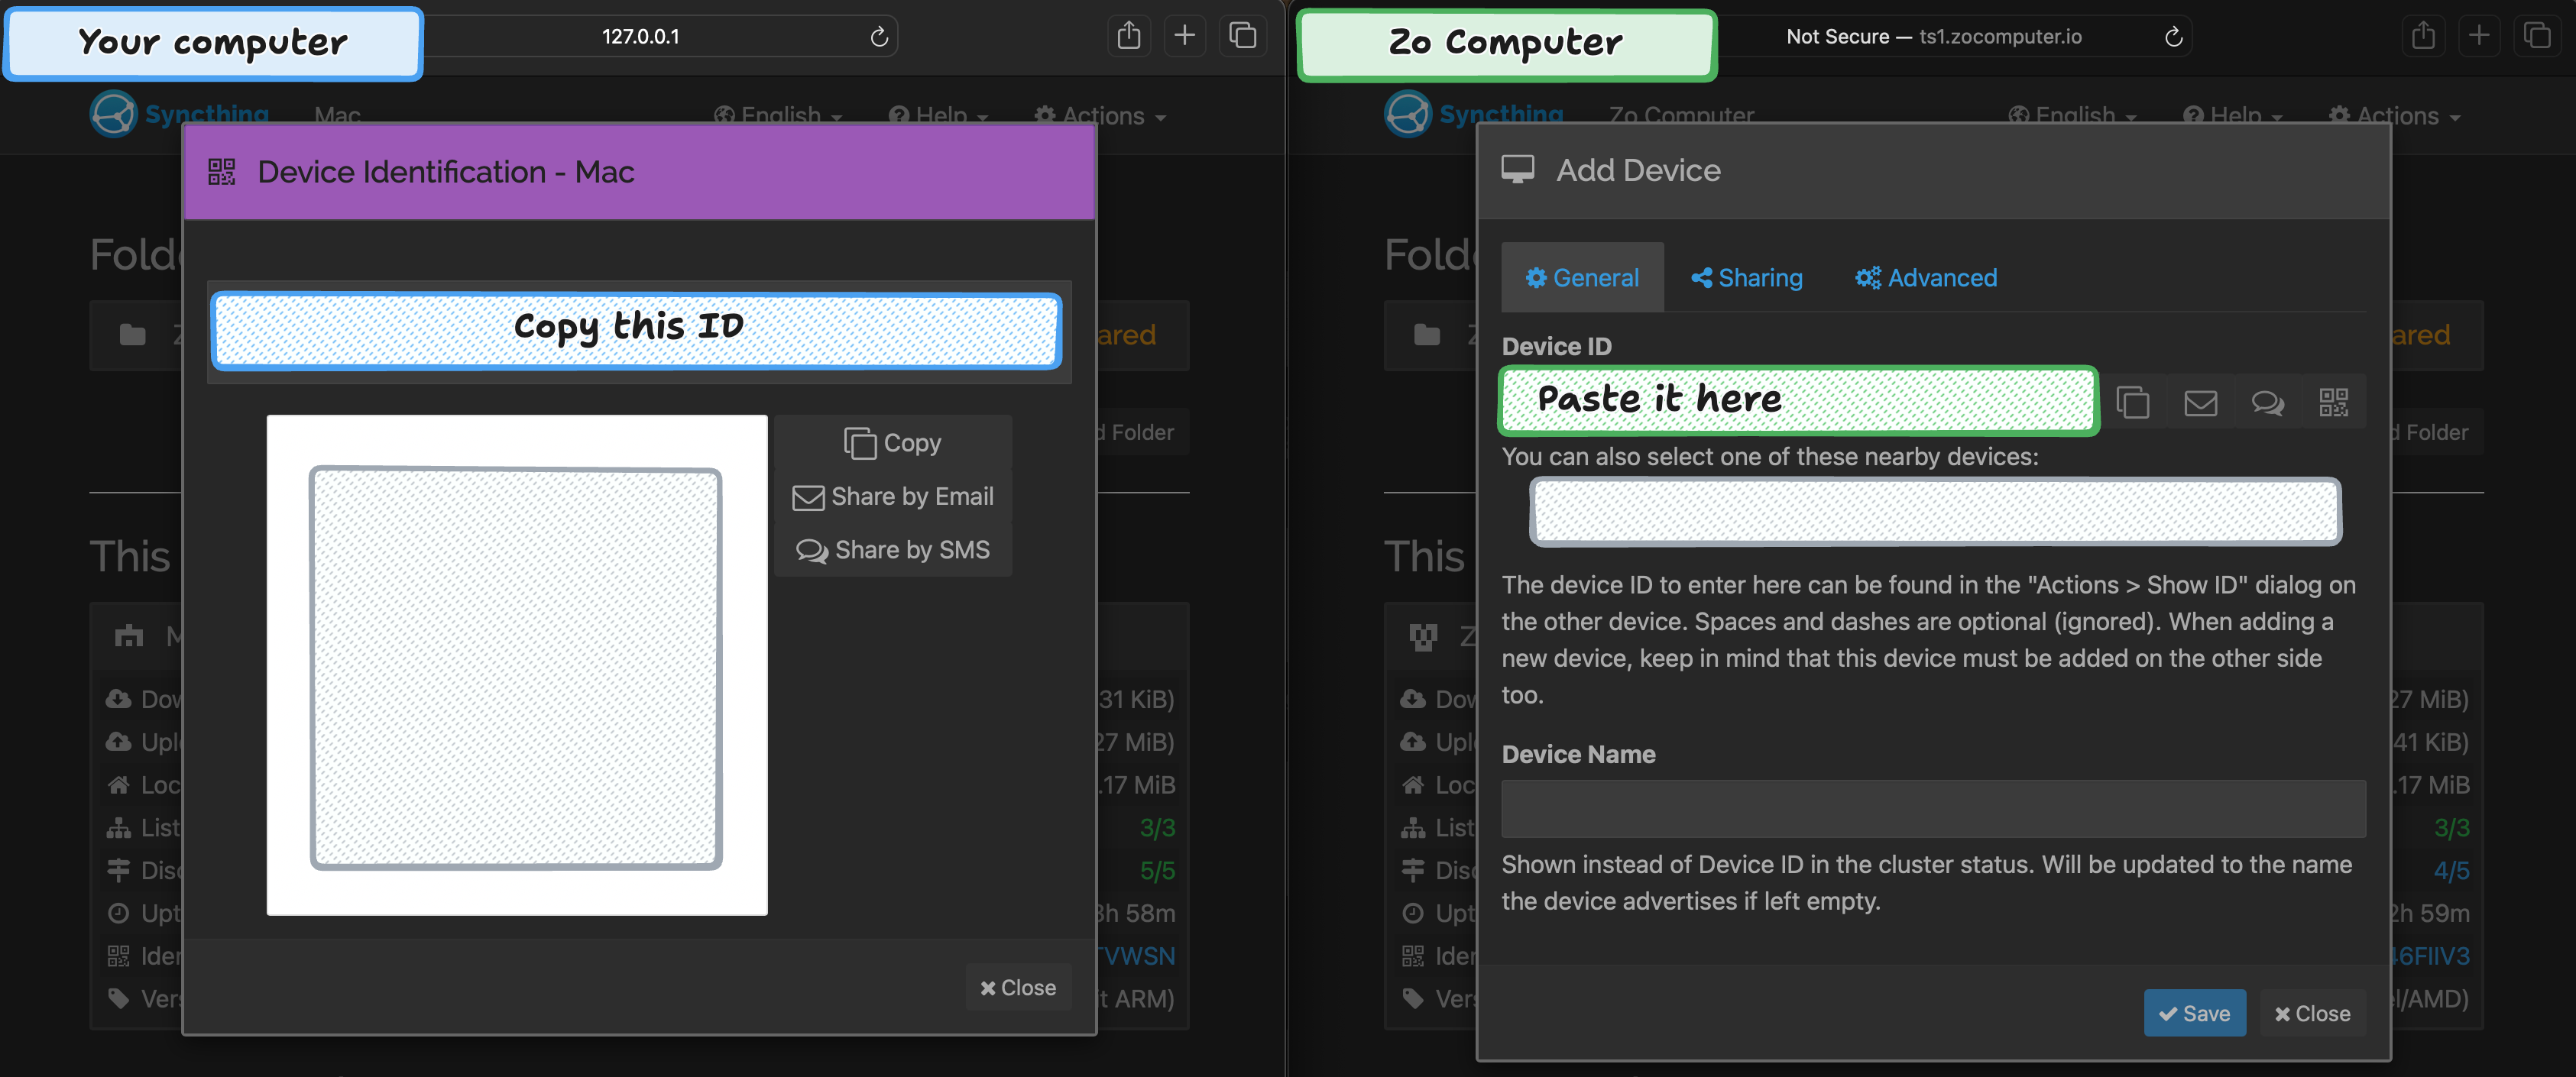
Connecting a device to SyncThing
6. Create a shared folder
In your Zo’s SyncThing, click “Add Folder”. For example, you might choose:Why /home/workspace?
Why /home/workspace?
The files you can see in the Zo application are in
/home/workspace on your Zo Computer.Your SyncThing Folder path must be in this workspace, otherwise you will not be able to see it in the Zo application.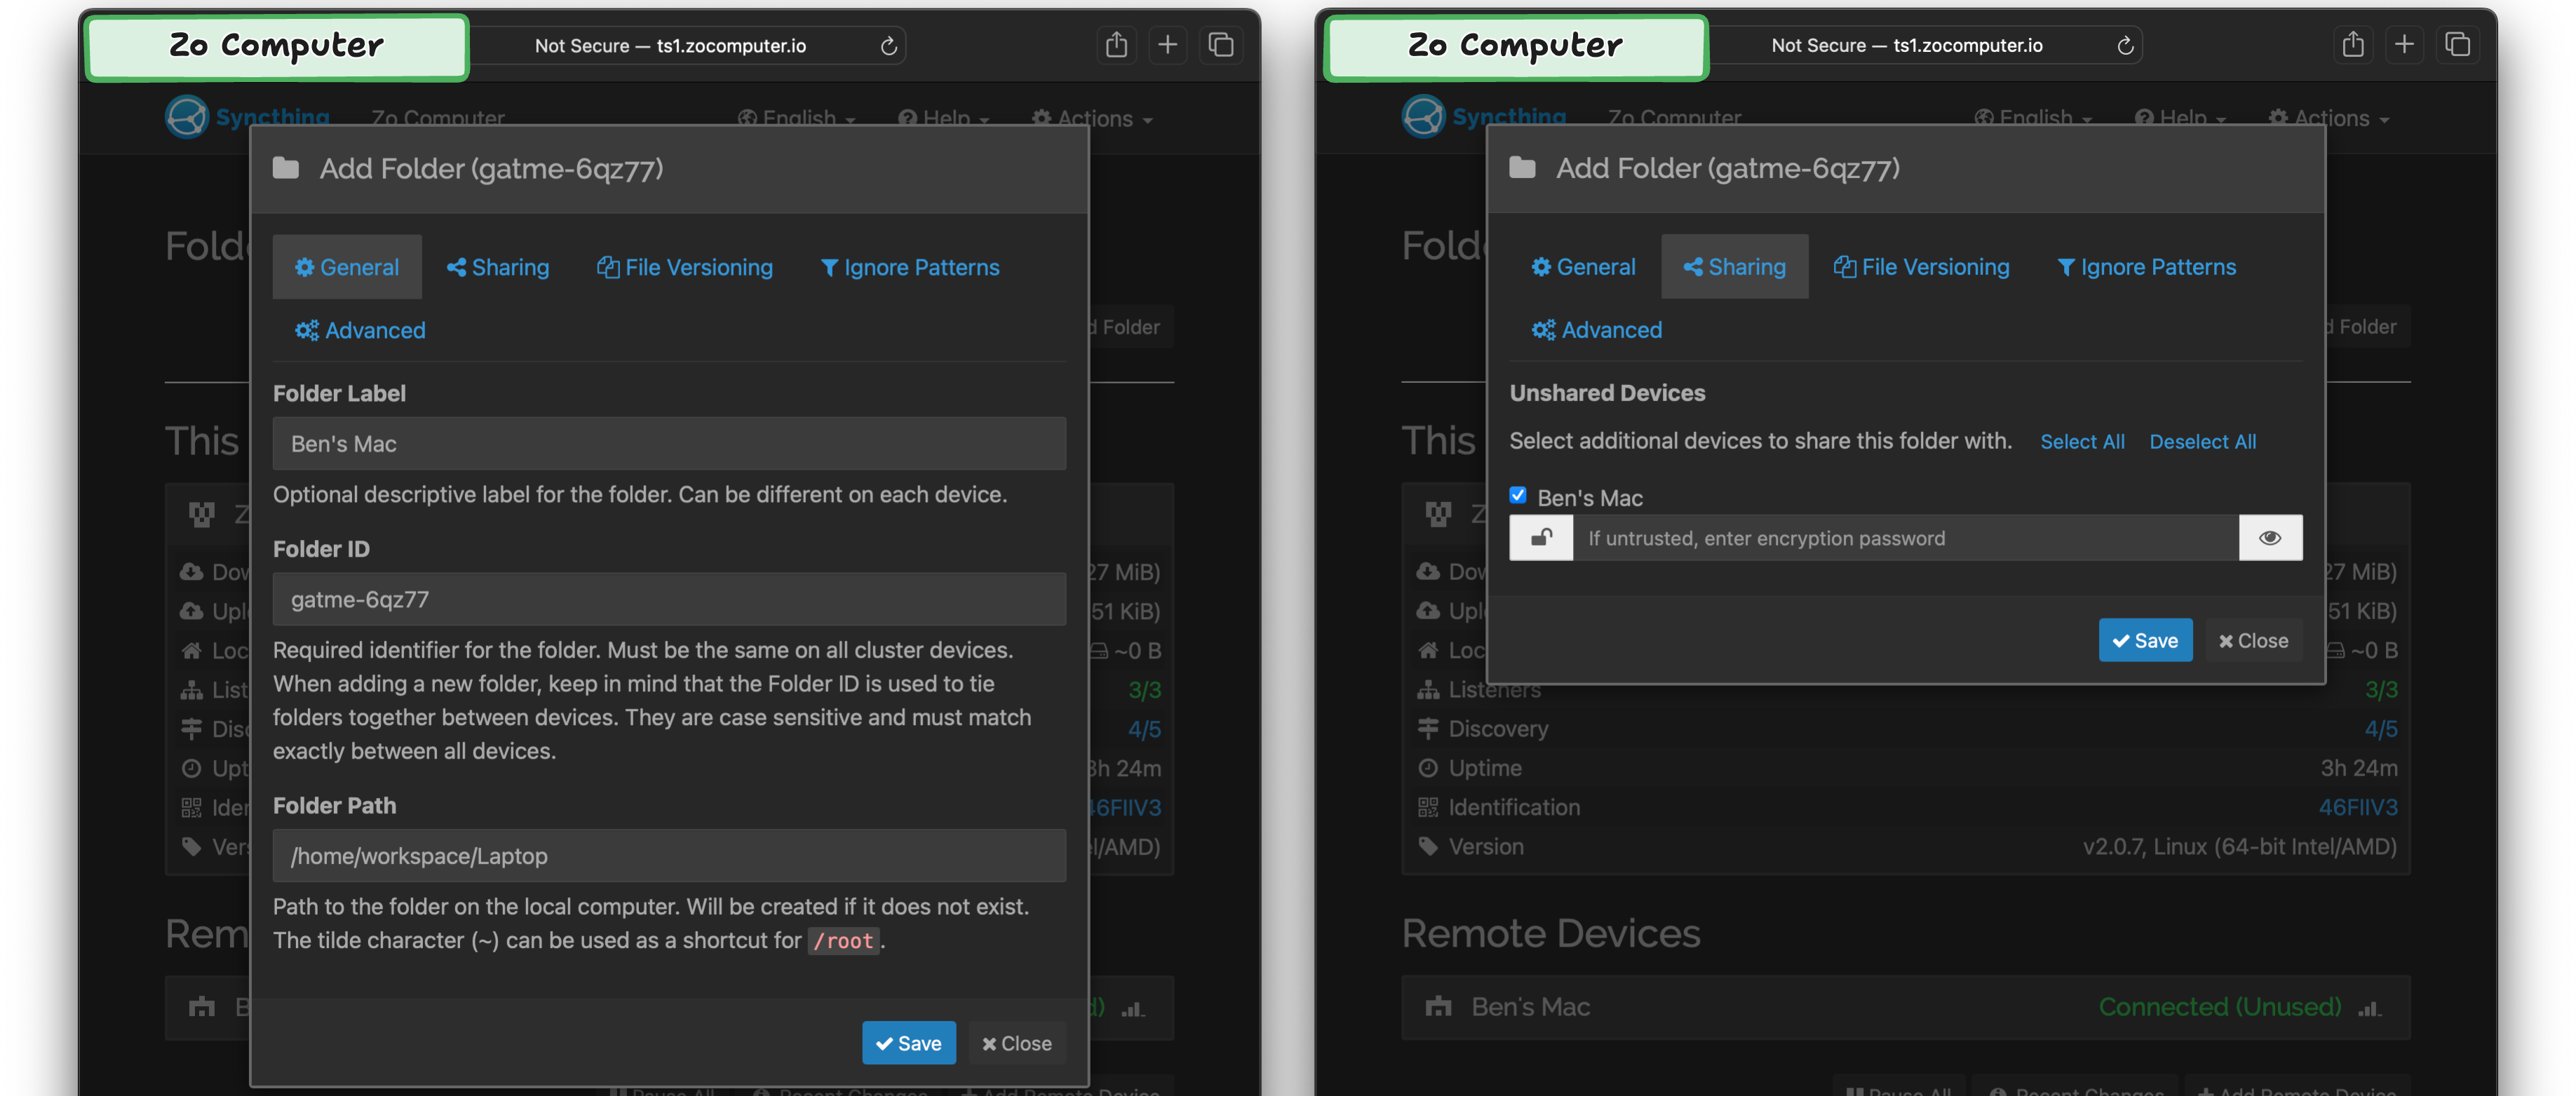
Creating a shared folder in your Zo's SyncThing
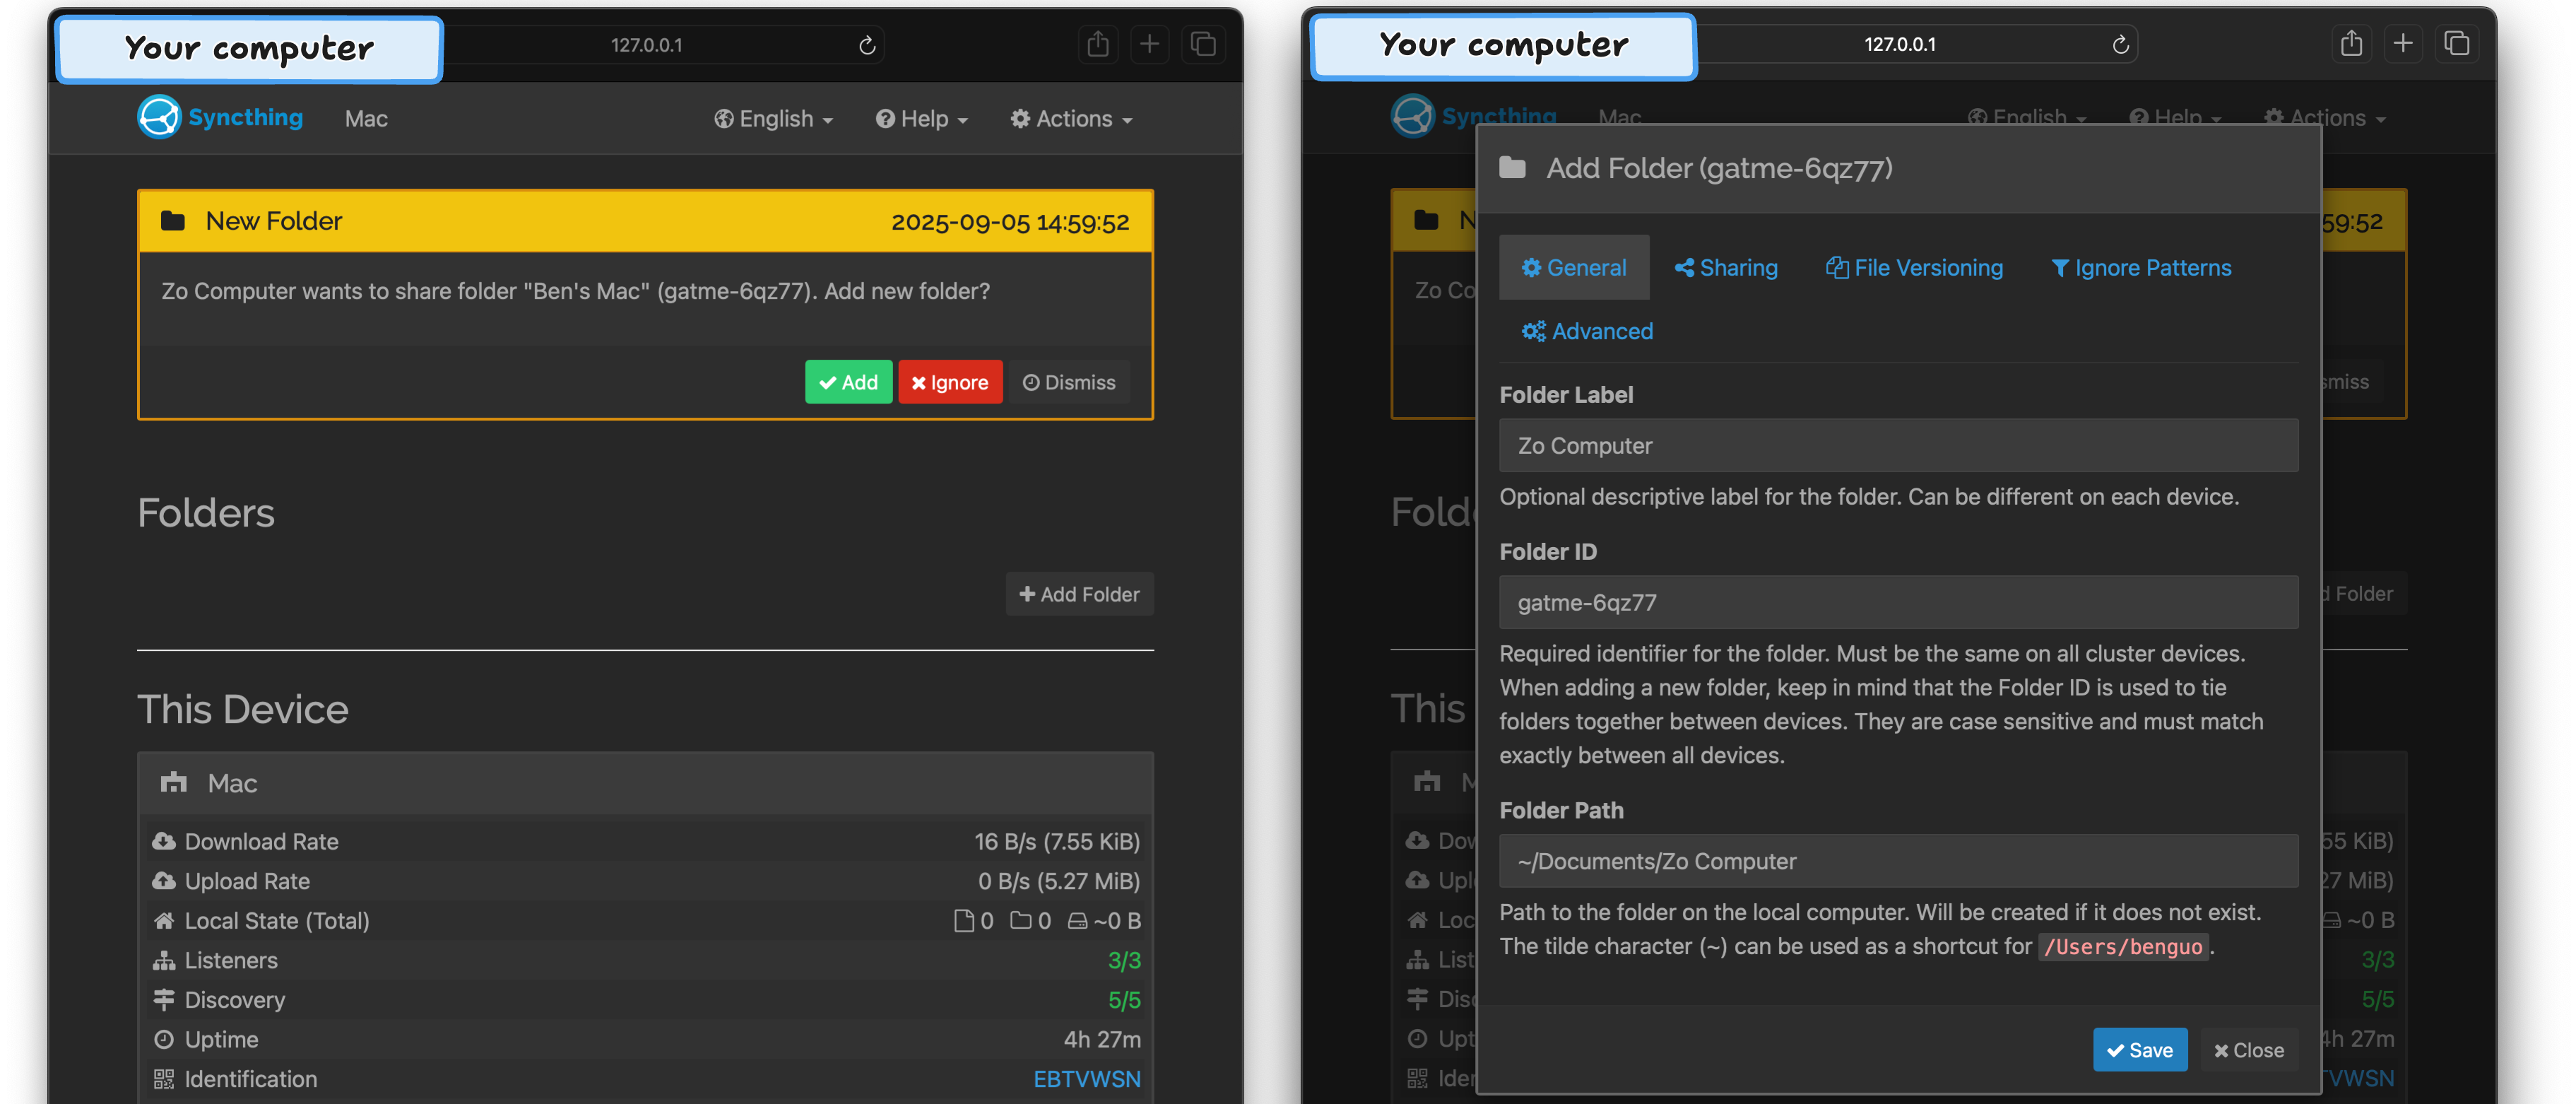
Creating a shared folder in your Zo's SyncThing
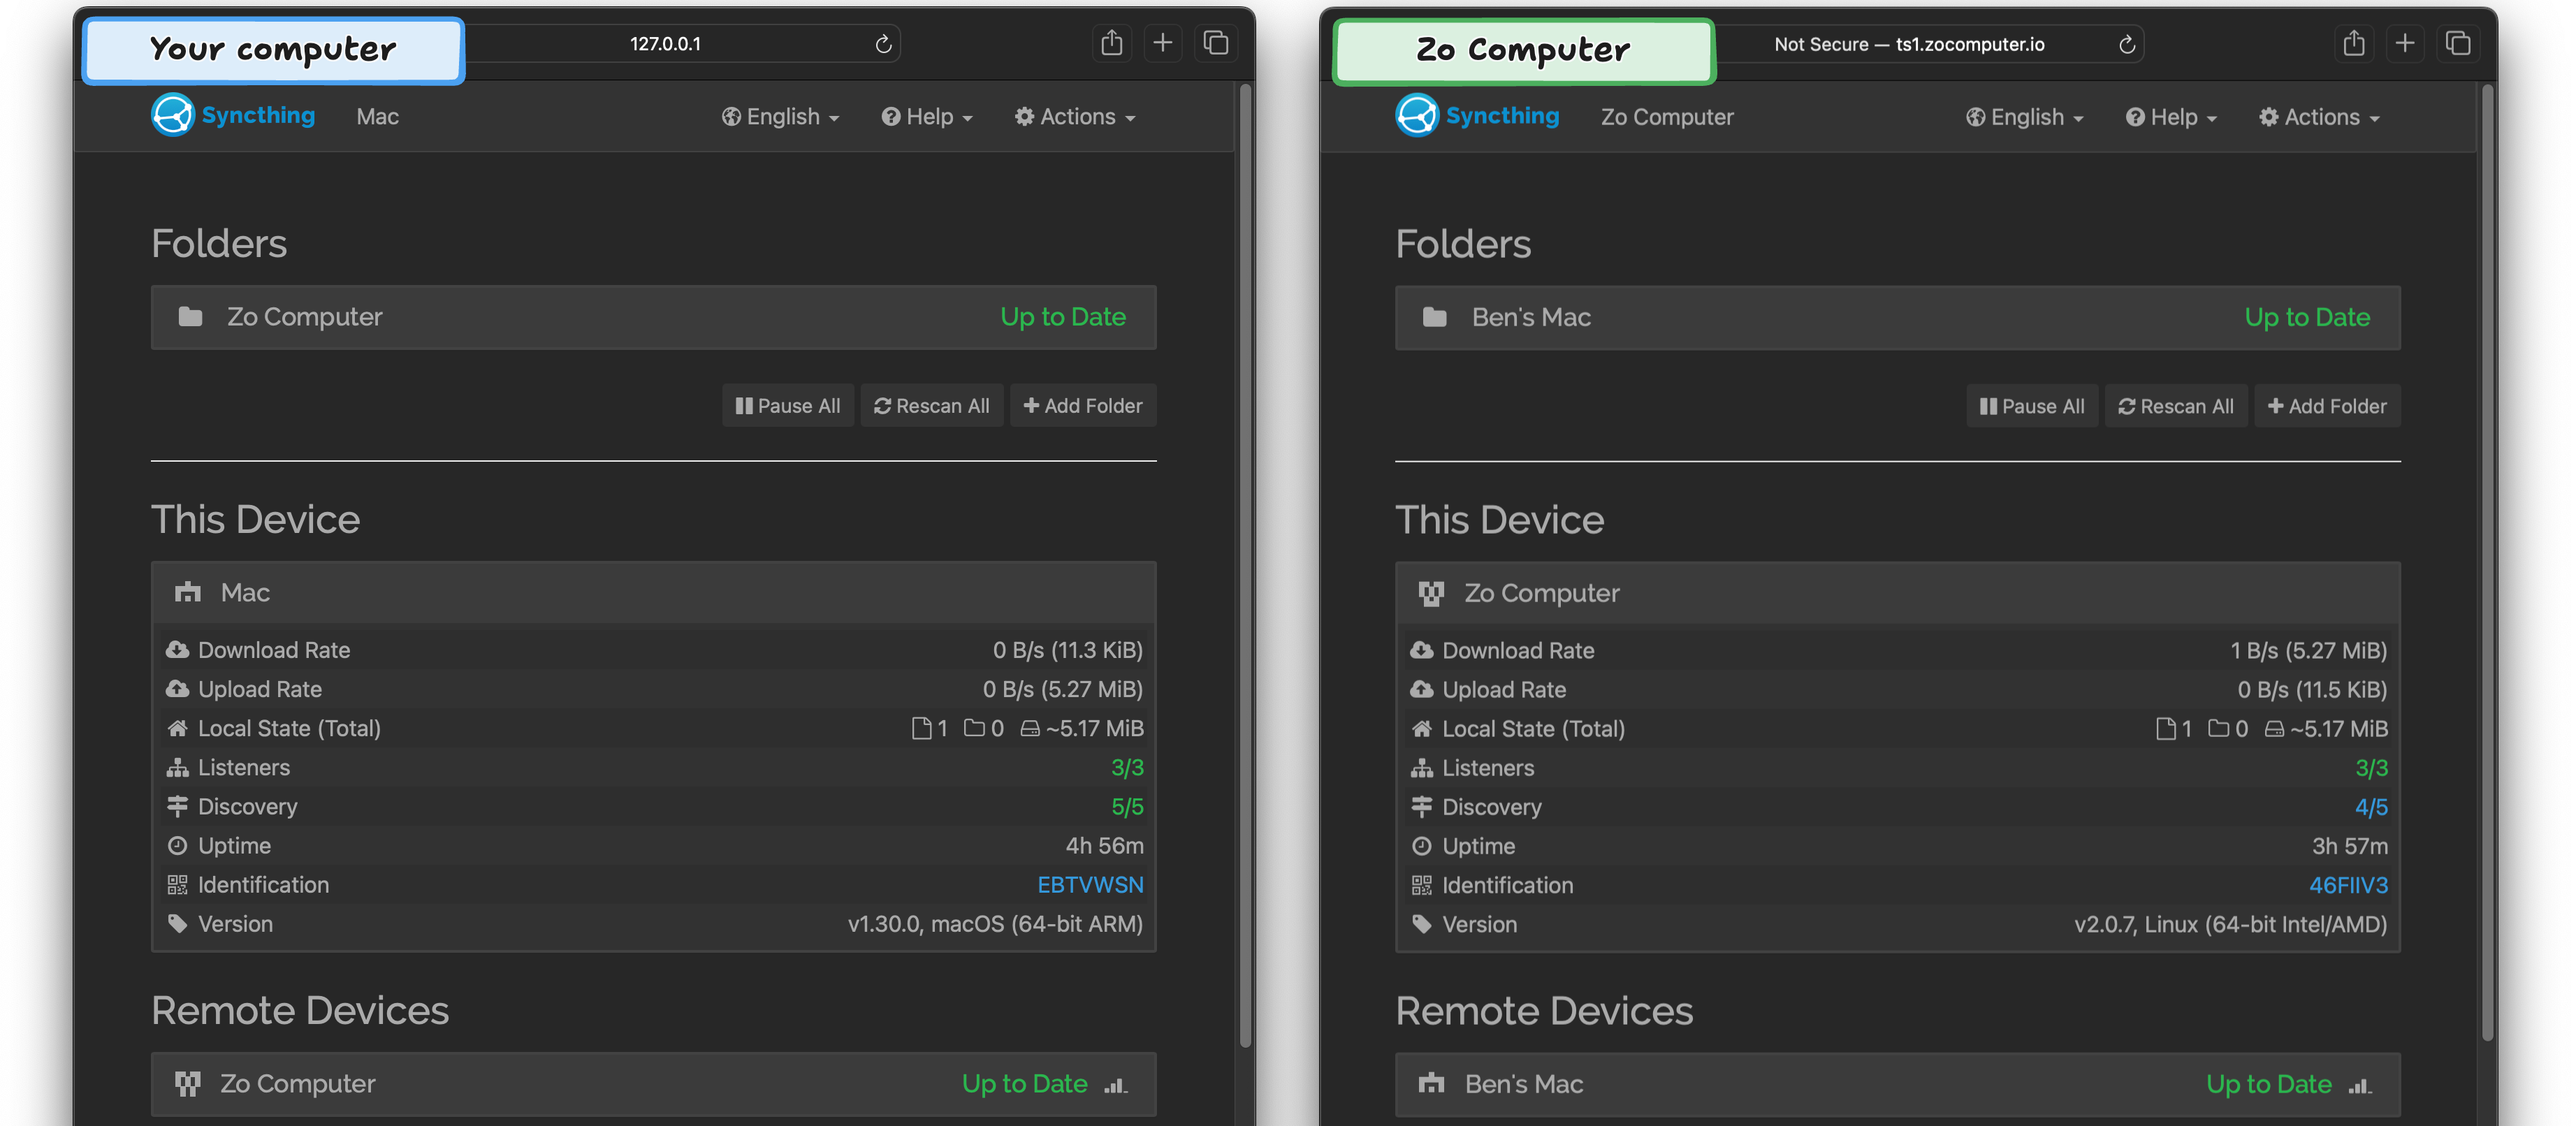
Our two computers are connected